Bringing Classic Car Lights Back to Life
There’s nothing worse than dull, scratched and faded lights on an otherwise clean classic. Whether it’s a Ford Cortina, Holden, or any Aussie muscle car, tired lenses can completely drag down the look of your build.
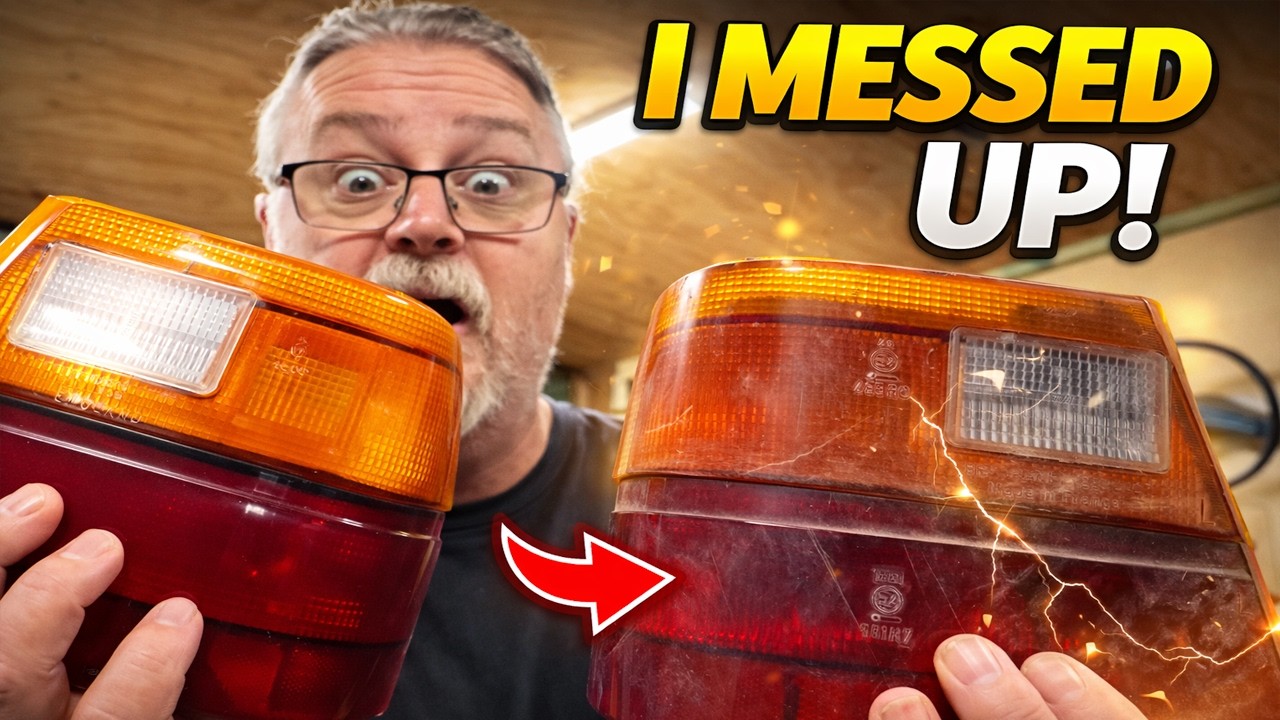
In this episode of Aussie Garage, Dan takes on restoring the original lights from a classic Cortina — and like most shed jobs, what starts simple quickly turns into a proper learning experience.
From sanding and polishing through to repainting and reassembly, this is a real-world look at restoring classic car lights… including the mistakes that come with it.
Why Restoring Original Lenses Matters
When it comes to classic cars, originality counts. Factory lenses often fit better, look right, and maintain the authenticity of the vehicle.
But the reality is, most original lenses have:
- Years of UV damage
- Scratches and hazing
- Faded colours (especially indicators)
- General wear from decades on the road
That’s where restoring classic car lights becomes a worthwhile job — saving original parts instead of replacing them.
Step-by-Step: Restoring Classic Car Lights
1. Cleaning the Lens Properly
Before doing anything, give the lens a proper clean. You want all dirt, grease and contaminants removed so you’re not sanding debris into the plastic.
A simple wash with warm soapy water followed by a wipe-down is enough to get started.
2. Sanding the Scratches Out
This is where the magic starts — and also where things can go wrong if you rush it.
Dan works through a standard sanding process:
- Start with 600 grit to remove deeper scratches
- Move to 1200 grit to refine the surface
- Finish with 2000 grit to smooth everything out
The key here is consistency. Uneven sanding will leave visible marks later on, especially once polished.
💡 Tip: Keep the surface wet while sanding to avoid heat buildup and additional damage.
3. Polishing for a Clear Finish
Once sanding is complete, the lens will look cloudy — that’s normal.
Polishing brings the clarity back.
Using a cutting compound followed by a finer polish:
- Removes sanding haze
- Restores transparency
- Brings back that clean factory look
This step makes the biggest visual difference in restoring classic car lights.
4. Fixing Faded Indicator Lenses
One of the biggest challenges with older cars is faded indicator colour.
Instead of replacing the lens, you can:
- Repaint the inside using a transparent amber paint
- Carefully build up colour without overdoing it
Done right, this can bring faded indicators back to life while still keeping the original part.
5. Original vs Reproduction Parts
This is where things got interesting in the episode…
Reproduction lenses might look like a quick fix, but they often come with issues:
- Poor fitment
- Alignment problems
- Lower overall quality
Original parts, even when worn, usually fit better and look more authentic once restored.
👉 Lesson learned: restoring original parts is often worth the extra effort
6. Assembly Tips (Glue & Sealants Matter)
Putting everything back together isn’t just a bolt-up job.
You need to think about:
- Proper alignment before sealing
- Choosing the right adhesive or sealant
- Avoiding excess glue that ruins the finish
Take your time here — rushing assembly can undo all the work you just put in.
When Things Don’t Go to Plan
Let’s be honest — no shed job goes perfectly.
In this case, what started as a straightforward restoration turned into:
- Rework after sanding inconsistencies
- Fitment frustrations with reproduction parts
- Adjustments during assembly
And that’s exactly why this episode hits home.
If you’ve ever worked on a classic car, you know:
👉 Things go wrong
👉 You adapt
👉 You fix it
👉 You learn
That’s all part of restoring classic car lights — and cars in general.
Final Result: Worth the Effort?
Despite the hiccups, the end result proves one thing:
With patience, the right process, and a bit of trial and error, you can bring old, tired lenses back to life.
And more importantly — you keep original parts on the car.
Is It Better to Restore or Replace?
If you’re working on a classic Aussie car like a Cortina, Holden or Falcon, here’s the takeaway:
Restore if:
- You have original parts
- The damage is mostly surface-level
- You want factory fit and authenticity
Replace if:
- The lens is cracked or structurally damaged
- Restoration won’t bring it back safely
Watch the Full Cortina Light Restoration Episode
If you’re tackling your own project, this episode walks you through the full process — including the mistakes most people don’t show.
Whether you’re restoring a Ford Cortina, Holden, or any classic Aussie build, this is real, hands-on garage work you can relate to.
Final Thoughts from Aussie Garage
Restoring classic car lights isn’t just about making them look good — it’s about preserving the car’s originality and doing the job properly.
It takes time, patience, and sometimes a few do-overs… but that’s what being in the shed is all about.
If you’re into classic car restorations, DIY garage work, and Aussie car culture — you’re in the right place.
#Cortina #CarRestoration #DIYAuto #AussieGarage #ClassicCars #FordCortina #GarageBuild #CarDIY #RestorationProject #CarEnthusiast #AussieGarageTV
About The Author